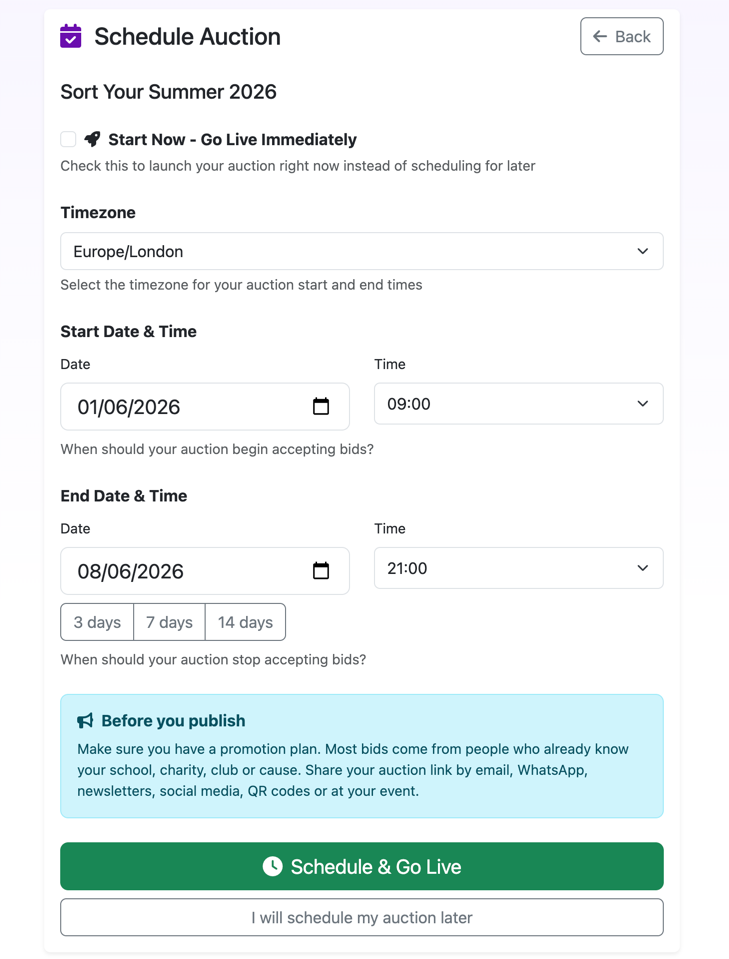
Schedule only when the auction is ready
An auction does not receive start and end dates when it is first created. Dates are set during scheduling, after you confirm the hosting option or complete the required payment.
Before scheduling, check:
- auction title, description, and banner;
- item photos, starting bids, increments, and reserves;
- payment and collection instructions;
- the time zone and closing time your audience will expect;
- who will answer bidder questions during the auction.
Choose dates that support bidding
Give supporters enough time to browse and share the link. Many community auctions work best when the closing time is easy to remember and when organisers can send a final reminder on the closing day.
Avoid closing at a time when your organising team cannot answer questions or respond to payment issues. If the auction supports a live event, make sure the online closing time fits the event plan.
Understand hosting confirmation
Aucly lets you configure an auction before paying to host or using a free scheduling option. Treat the scheduling step as the point where the auction moves from preparation into a time-bound fundraiser.
Keep a copy of any invoice or payment confirmation your treasurer needs.
After launch
Once scheduled and live, share the public auction link with your community. Avoid making unnecessary changes while bids are active, and keep supporters updated through clear, friendly messages.